How to set up a HUGO project for GitLab pages
Content
Also see this article: How to set up a minimal Jekyll project for GitLab Pages.
This is an optional part of the overall workflow.
Step-by-step guide
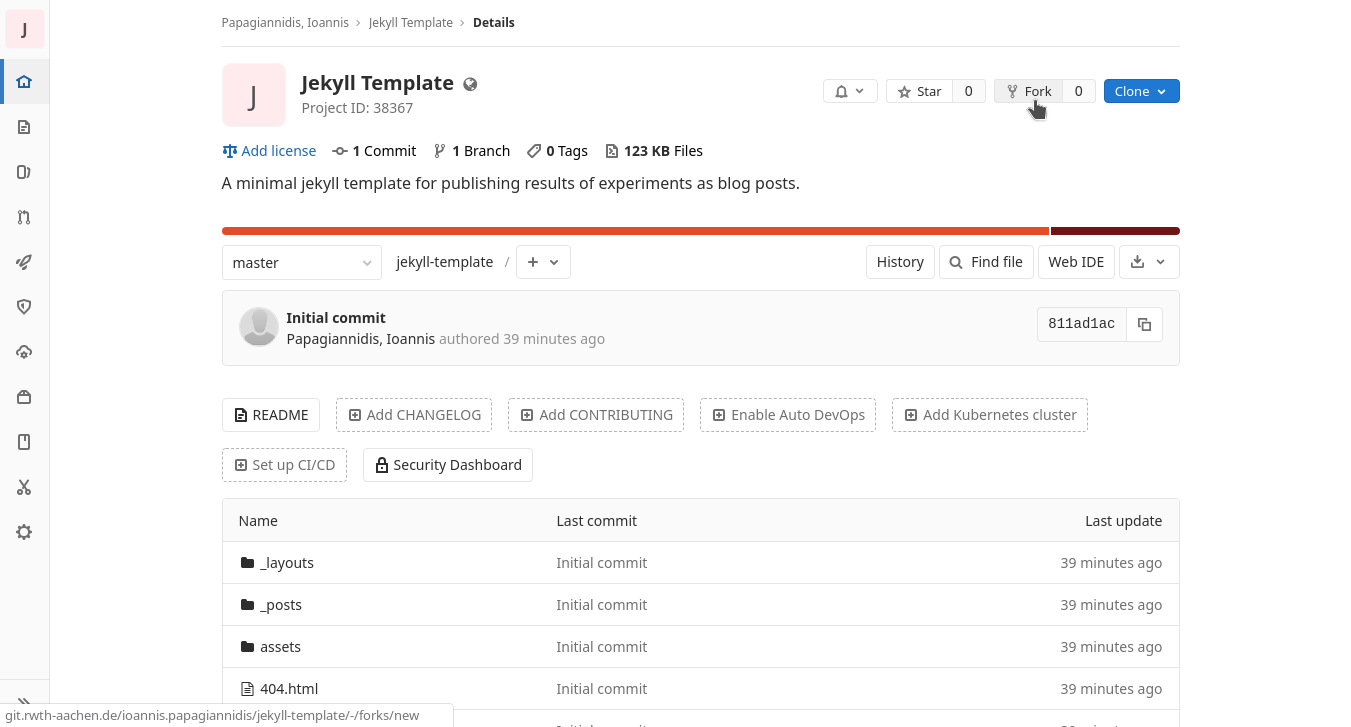
To create your own HUGO page you can start by building on existing work and fork this project or cleaner: this template project
-
To create a fork:
Click the Fork button on the top right corner.
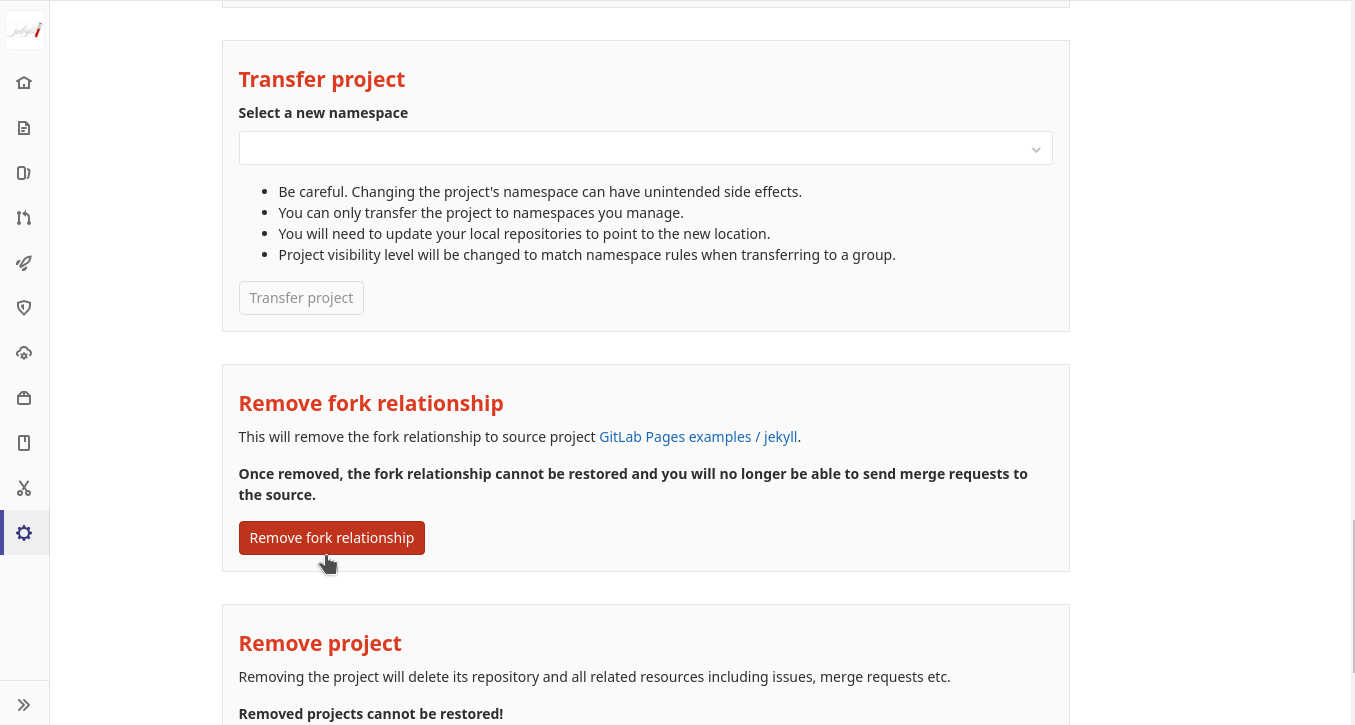
IMPORTANT: After successfully forking the project you have to remove the fork relationship. Go to Settings → Generals → Advanced and click the Remove fork relationship button.
And finally, for better management rename the repository and change the path to it to match the name you want for your site. This is because Gitlab automatically generates the URL for the project and it takes into consideration the actual name of the project, the username (for projects under your own namespace), the group the project is under (for projects under a specific group) and even the subgroup if it exists.
You can see your pages’ URL under Settings → Pages.For example, if a user creates a project under a group called “leia” (e.g. https://git.rwth-aachen.de/leia/gitlab-ci-presentation and the right files are there, the GitLab page will be available under https://leia.pages.rwth-aachen.de/gitlab-ci-presentation, where we can see that the name of the group is mentioned in the beginning of the URL and the project name at the end of the URL.
-
Build from scratch/GitLab templates:
GitLab has template files available for HUGO, Jekyll and others.
Adapt your repository
Check your git repository for the following characteristics.
In this example the actual files of ‘hugo-theme-learn’ were imported as files without git-properties into the folder structure.
If your fork your project as described above, this might have some implications on your pipeline.
.gitlab-ci.yml
Your .gitlab-ci.yml starts the CI/CD-
pipeline
and therefore is responsible to deploy your website.
It should look similar to this:
# All available Hugo versions are listed here:
# https://gitlab.com/pages/hugo/container_registry
image: registry.gitlab.com/pages/hugo:latest

variables:
  GIT_SUBMODULE_STRATEGY: recursive

test:
  script:
  - hugo
  except:
  - master

pages:
  script:
  - ls themes/hugo-theme-learn/
  - hugo
  artifacts:
    paths:
    - public
  only:
  - master
Adapt - ls themes/hugo-theme-learn/ to fit your path and/or theme.
GitLab pages requires that the name of the job is ‘pages’ and the name of the folder for artifacts is ‘public’. All the work after that is taken care by GitLab automatically.
If you have more than one branch in your pages-repository, you probably only want the ‘master’-branch to be deployed and need to add the only: -master option, as seen above.
.gitmodules
In .gitmodules
submodules
are declared. In this case it could look like this:
[submodule "themes/hugo-theme-learn"]
	path = themes/hugo-theme-learn
	url = /themes/hugo-theme-learn
The line url = can possibly contain an actual url, e.g. url = https://github.com/dataCobra/hugo-vitae.git, if the module is present as a git instance.
config.toml
About TOML
baseurl = "https://moritz.schwarzmeier.pages.rwth-aachen.de/knowledge-base/"
languageCode = "en-us"
title = "SFB1194 Knowledge Base"
theme = "hugo-theme-learn"

contentdir    = "content"
layoutdir     = "layouts"
publishdir    = "public"
canonifyurls  = true

# check the documentation of your hugo theme, e.g. https://learn.netlify.app/en for the HUGO learn theme
#
# For search functionality
[outputs]
home = [ "HTML", "RSS", "JSON"]

[params]
	...
.gitignore
Add a file called .gitignore with the single line
public/
to your repository.
.gitkeep
Put a .gitkeep with no content in empty folders, e.g. themes/, static/ and layouts/. The relevant folders will otherwise be displayed in the GitLab like this, e.g.: static/images, where the sub-folder is displayed in the hierarchically-higher level.
README.md
Your should always provide a readme. It can automatically be generated while starting a new GitLab-project.
# Knowledge Base

Knowledge Base of SFB1194 at TU Darmstadt
GitLab runner
You will need a runner to run the CI/CD-pipeline. Go to How to set up a GitLab Runner and follow these steps, choosing the docker executor (also install Docker on your machine).