How to set up a minimal Jekyll project for GitLab Pages
Content
Also see this article: How to set up a HUGO project for GitLab pages.
This is an optional part of the overall workflow.
It requires some initial investment. What you get is a
GitLab
-website with blog-posts. The alternative is to use gitlab
artifacts
, please refer to Continuous Integration on Gitlab.
In order to publish the results (code, graphs, text) of a project as a post in a web blog we first have create a Jekyll repository and then the main project will pull this repository, save the results and push back to the repository.
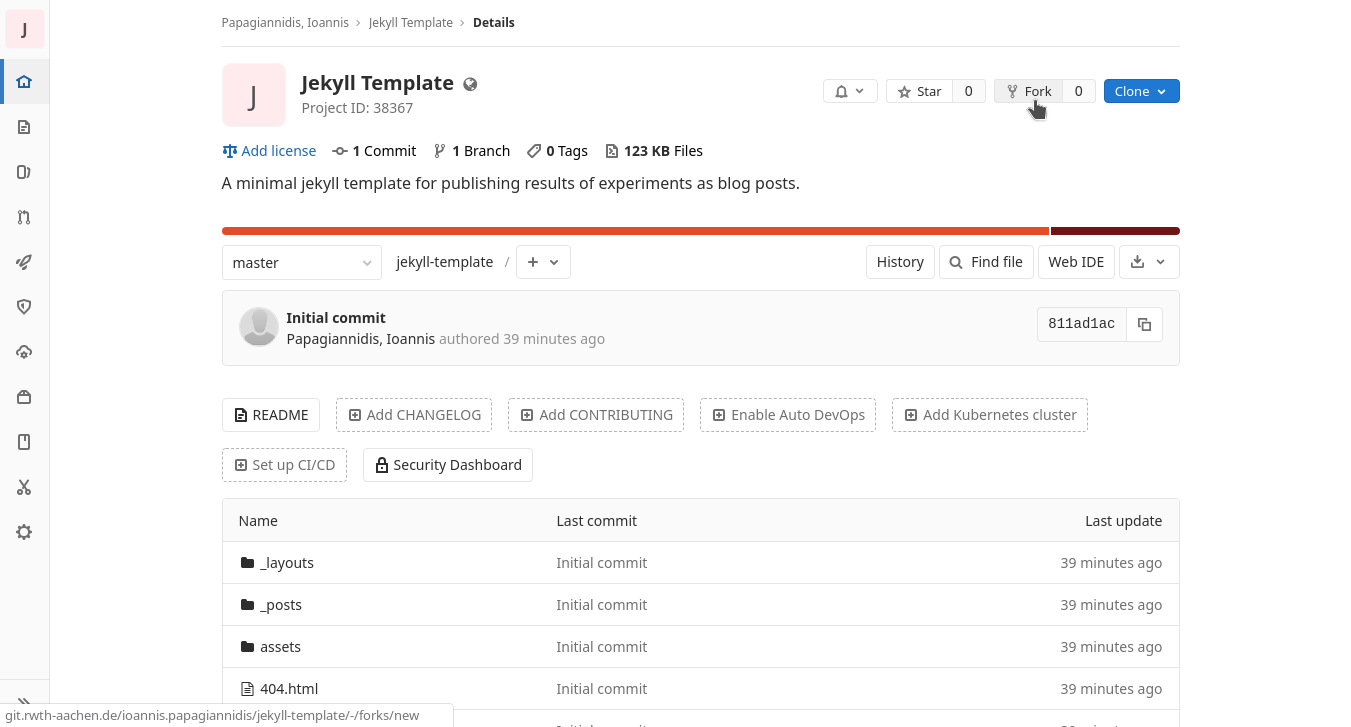
To create a project for hosting the site simply fork the template provided, which will create a new repository with the exact same code under a namespace (a group) or your own account.
Click the Fork button on the top right corner.
IMPORTANT: After successfully forking the project you have to remove the fork relationship. Go to Settings → Generals → Advanced and click the Remove fork relationship button.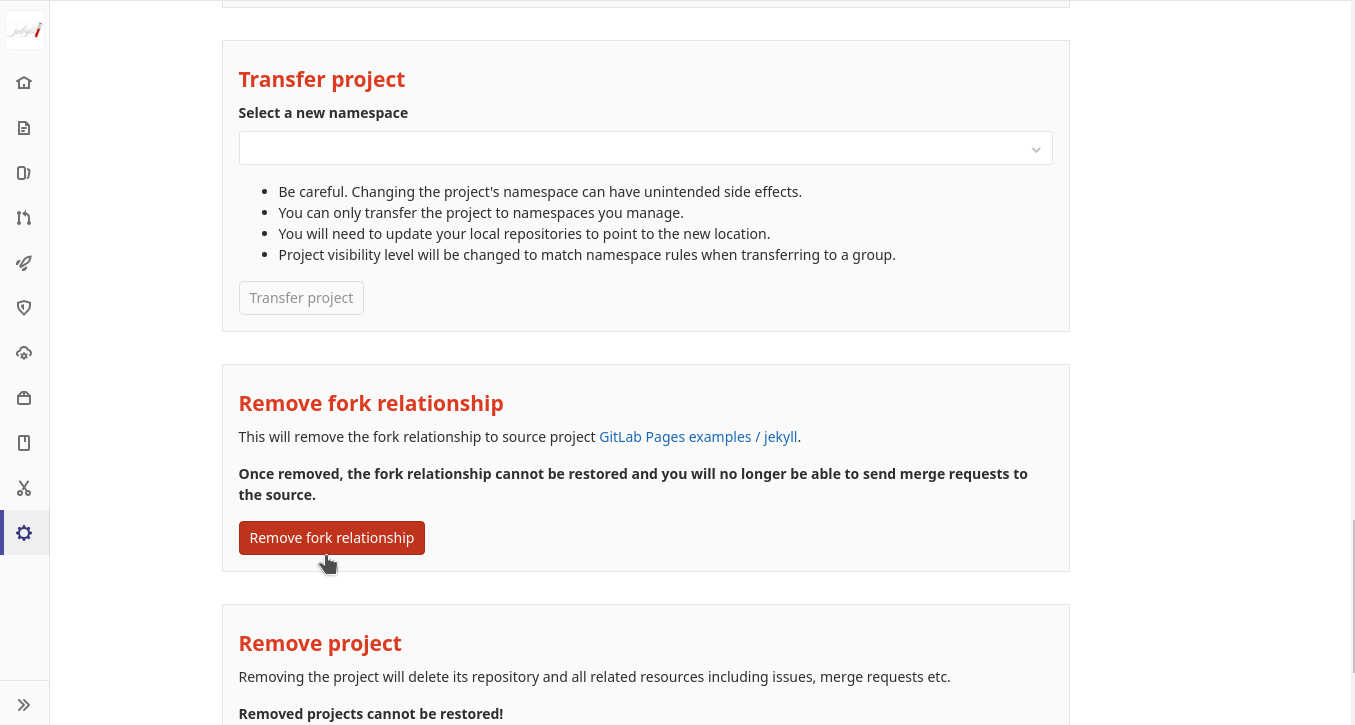
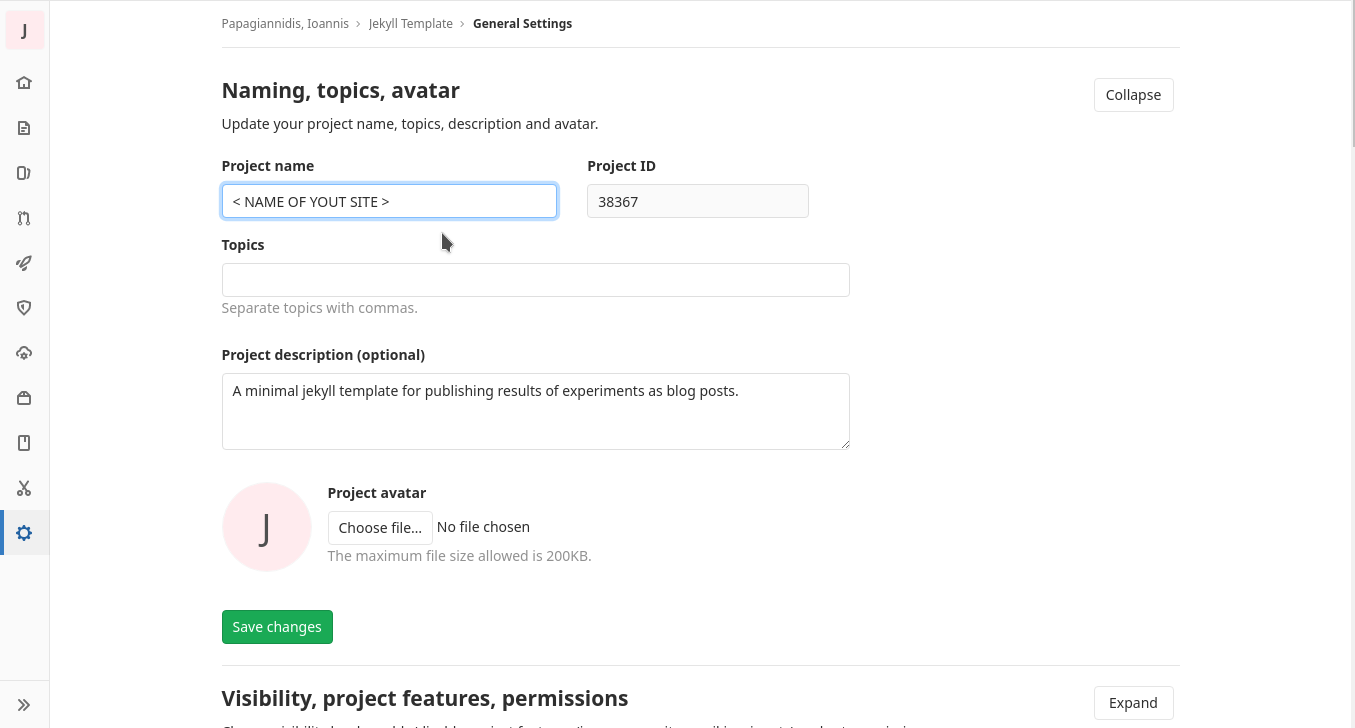
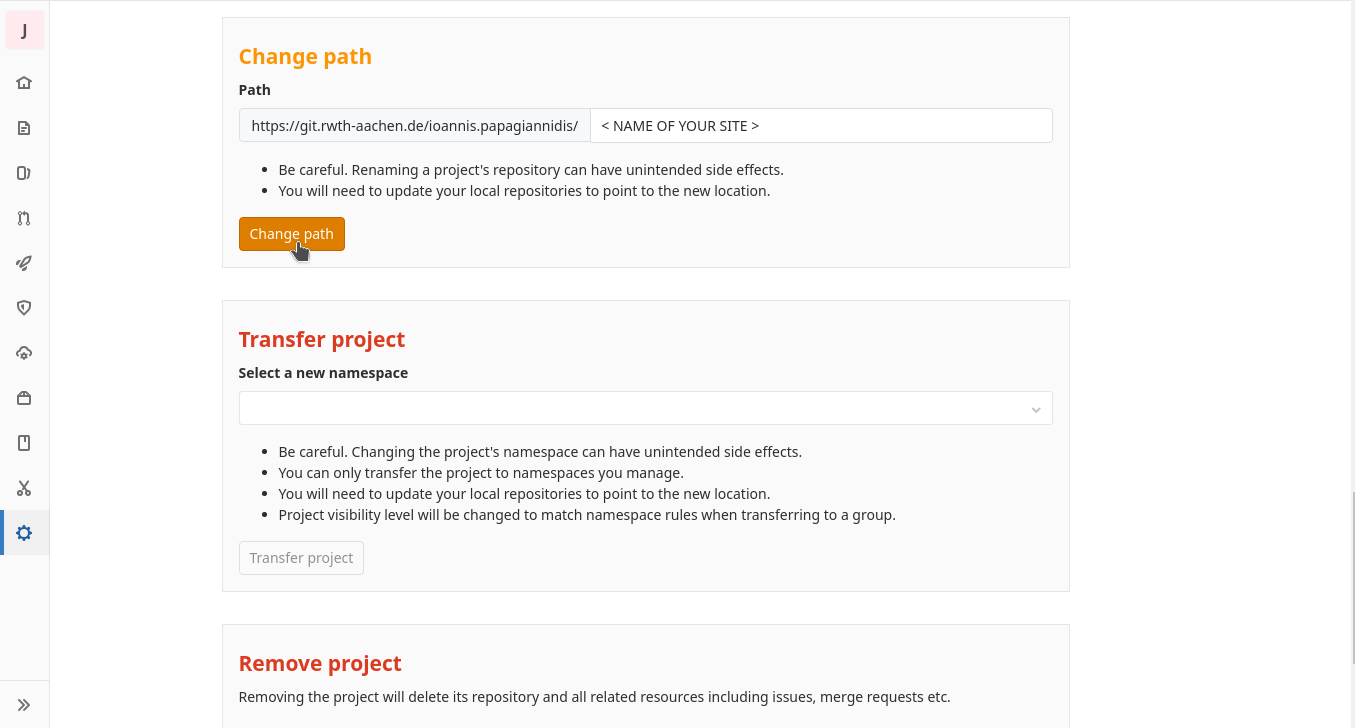
And finally, for better management rename the repository and change the path to it to match the name you want for your site. This is because Gitlab automatically generates the URL for the project and it takes into consideration the actual name of the project, the username (for projects under your own namespace), the group the project is under (for projects under a specific group) and even the subgroup if it exists.
You can see your pages’ URL under Settings → Pages.
For example, if a user creates a project under a group called “leia” (e.g. https://git.rwth-aachen.de/leia/gitlab-ci-presentation and the right files are there, the GitLab page will be available under https://leia.pages.rwth-aachen.de/gitlab-ci-presentation, where we can see that the name of the group is mentioned in the beginning of the URL and the project name at the end of the URL.
The forked Jekyll project will need some modifications to work correctly, only the _config.yml needs to be modified if the project is forked. Instructions about the contents of that file are below.
Jekyll’s default configuration expects to find your website under a domain (example.com), not in a sub-directory of that domain (example.com/subdir). Therefore, whenever you publish a project website ), you’ll have to look for this configuration (base URL) and set it up to reflect this pattern.
For example, for a Jekyll site, the baseurl is defined in the Jekyll configuration file, _config.yml. If your website URL is https://ioannis.rwth-aachen.de/blog/, you need to add this line to _config.yml:
baseurl: "/blog"
Structure of a Jekyll project
A minimal Jekyll project has to contain the files below:
-
_posts -
.gitlab-ci.yml -
Gemfile -
_config.yml -
index.md
_posts
Is a folder that will contain the Markdown files (.md) or HTML pages produced for example by Jupyter. Initially this will be empty so a .gitkeep file might be needed so the folder does not disappear.
.gitlab-ci.yml
This is the file that manages the
CI
pipeline
which basically
builds
and publishes the site. Here we are using
Ruby
as a base
image
and setting some variables for Jekyll. In the before_script block we install bundler which manages the dependencies of the gems (packages in Ruby) and the command bundle install will install all the dependencies for this project. The one and only job in this pipeline is to build the actual website by using the jekyll build command and specifying the folder public as a destination folder.
GitLab pages requires that the name of the job is ‘pages’ and the name of the folder for artifacts is ‘public’. All the work after that is taken care by GitLab automatically.
If you have more than one branch in your pages-repository, you probably only want the ‘master’-branch to be deployed and need to add the only: -master option, as seen above.
image: ruby:latest

variables:
  JEKYLL_ENV: production
  LC_ALL: C.UTF-8

before_script:
  - gem install bundler
  - bundle install

pages:
  stage: deploy
  script:
  - bundle exec jekyll build -d public
  artifacts:
    paths:
    - public
.Gemfile
This file contains the Ruby dependencies (gems) for the project to build. Here we only need Jekyll, minima (package of a theme for jekyll) and jekyll-feed (package of plugin for Jekyll to generate a feed in the home page). The first line specifies where to search for these gems.
source 'https://rubygems.org'

gem 'jekyll', '4.0.0'

# This is the default theme for new Jekyll sites.
gem 'minima', '2.5.1'

group :jekyll_plugins do
  gem 'jekyll-feed', '0.12.1'
end
_config.yml
This file is used by Jekyll to generate the site. Here is defined a title, an email, a description and a url. The only important thing to note is the baseurl which has to be set to the exact name as the GitLab repository name.
title: Fvc-reconstruct GitLab Page

email: ioannis.papagiannidis@stud.tu-darmstadt.de

description: >-
  Testing the convergence of the fvc::reconstruct operator in OpenFOAM.

# The subpath of your site, e.g. /blog
baseurl: "/fvc-reconstruct-gitlab-page"

# The base hostname & protocol for your site, e.g. http://example.com
url: "https://leia.pages.rwth-aachen.de/fvc-reconstruct-gitlab-page/"

# Build settings
markdown: kramdown
theme: minima
plugins:
  - jekyll-feed
index.md
This file is just used for the homepage and inside is just specified which layout to use, which is already provided by Jekyll.
layout: home
Other useful files would be:
assets
This folder would be used to store images and other content besides text. For images another folder have to be created inside this folder named ‘images’ for example. Again in the beginning these folders are going to be empty so a ’ .gitkeep’ would be needed.
404.html
This would be a page that would show up everytime a wrong URL is accessed. Again we specify a layout at the top of the file, and then the container contains some text and maybe some styling (CSS style block).
---
layout: default
---

<style type="text/css" media="screen">
  .container {
    margin: 10px auto;
    max-width: 600px;
    text-align: center;
  }
  h1 {
    margin: 30px 0;
    font-size: 4em;
    line-height: 1;
    letter-spacing: -1px;
  }
</style>

<div class="container">
  <h1>404</h1>

  <p><strong>Page not found :(</strong></p>
  <p>The requested page could not be found.</p>
</div>
A Jekyll post example
This is an example of a post file. Jekyll posts need to be begin with specifying the layout, the title and the date of the post (for better ordering in the feed). These 3 atrtibutes must be enclosed in 3 lines at the top and 3 lines at the bottom (—). As a layout is used the ‘post’ layout. The Markdown produced by the Jupyter of course does not contain this information and it has to be taken care of by either the main project repository or this GitLab Page repository (use of sed command mostly). All the posts should have different titles and that’s why the commit hash is being used to differentiate them. Also, note that the images have to be specified in accordance to the base_url and that they too have to be differentiated with the commit hash, so there are no overwrites.
---
layout: post
title: fvc-reconstruct commit 9aa34f6b
date: 2019-11-08 13:11:13 +0000
tags: 9aa34f6ba6cdd4d453d5648c80568cc5487f895c
---
```python
from fvc_reconstruct import *
from pandas import read_csv
```
```python
analyze_test('hex2D/SHEAR_2D')
```

Overwriting an existing Jekyll layout
If you need to modify an existing Jekyll layout you need to create a ‘_layouts’ folder in the project’s root folder and include a file with the name of the layout you wish to modify. For example, if I wish to modify the home layout I would have to create a home.html file in the ‘_layouts’ folder. You can either write a completely new HTML file or copy one from Jekyll and add/delete/modify elements of that.