How to set up a GitLab Runner
Content
A
GitLab Runner
is the program that actually runs the code defined in the .gitlab-ci.yml-file.
They are isolated and pick up available jobs through the coordinator API of GitLab
CI
. A Runner can be dedicated just for a certain project, or it can be shared between many projects. After the Runner finishes running all the actions defined in the
YAML
file it sends the results back to GitLab.
Install GitLab Runner
There are many ways to install the Runner either on Windows, MacOS or Linux in the following link (Installation). The easiest way is to use the Debian package manager to get it from the official GitLab repository. For example, to install on a ubuntu machine:
Add GitLab’s official repository and run the installation command:
curl -L https://packages.gitlab.com/install/repositories/runner/gitlab-runner/script.deb.sh | sudo bash

sudo apt-get install gitlab-runner
If you encounter difficulties, you might have to install the runner in another fashion, which is described here: https://docs.gitlab.com/runner/install/linux-manually.html#using-debrpm-package
Hint: a ‘x86_64’ architecture is the same as ‘amd64’!
Start GitLab Runner
To start the Runner just run the following command
# potentially you have to run this as root (prepend sudo)
gitlab-runner start
Register GitLab Runner
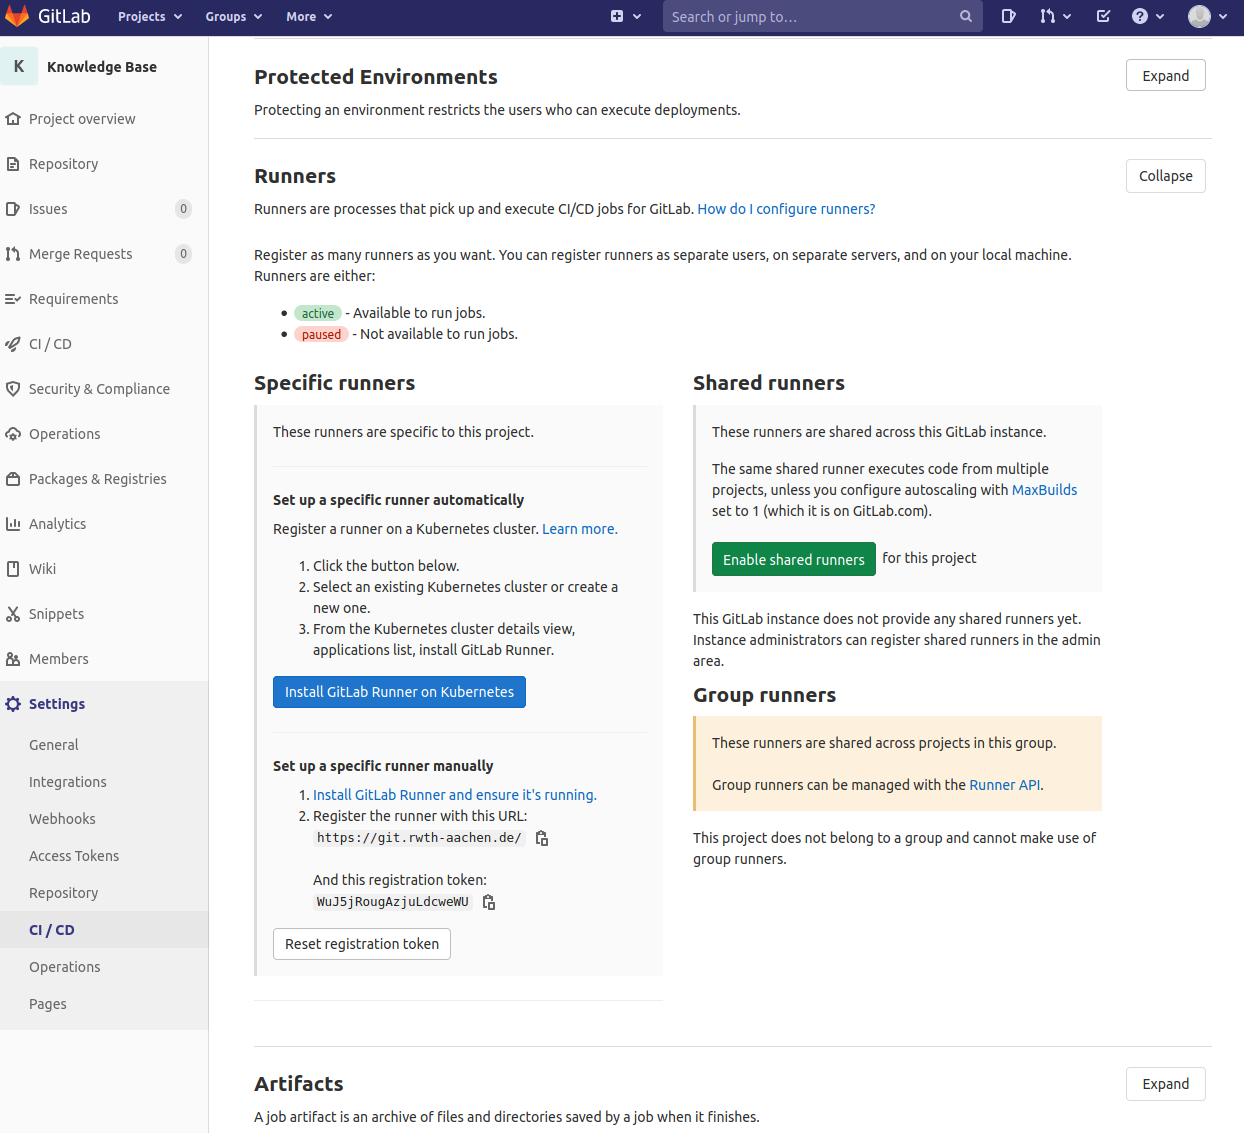
In order to be usable, the Runner needs to be connected somehow to the code repository back in GitLab server. So, first you have to get a Token and a URL from the GitLab project. Navigate to Settings -> CI/CD -> Runners (Expand). There you will find “Set up a Runner manually” and the Token and the URL you have to use, like the picture below.
So then you go back to your computer that just installed the Runner open the console and type
sudo gitlab-runner register
Then you will be asked to enter:
- The URL
- The Token
- A description
- Tags associated with this Runner (described below)
- The Runner Executor (described below)
GitLab Runner Tags (GitLab Docs)
Tags in a Runner make sense if we have a diversity on the types of projects we use with the Runners. By tagging, we ensure that a Job is going to run on a Runner that is equipped with the right software. For example, if we associate a Runner with the tag “ruby” and we use the image “ruby” on that Runner we guarantee that after this, every Job tagged with the tag “ruby” will get picked by this Runner and will have Ruby preinstalled without the need to download, build and run it.
Tags guarantee in a way that the Runner will have all the necessary dependencies installed.
Runners can also be configured to pick up Jobs that have no tags specified.
GitLab Runner Executor (GitLab Docs)
This specifies the way the Runner is going to run the configuration of the YAML file. There are many options available but the most important ones are the following:
- shell -command line
- VirtualBox or Parallels
- Docker
which provide following attributes:
- The simplest one to use is the Shell, where you don’t need to have anything installed on the machine that the Runner is going to run and it is in general used for simple jobs involving simple scripts.
But mind that the Shell one does not support the image command in the YAML file (e.g. “image: ruby”) since docker is not supported. - Parallels and VirtualBox uses an already created virtual machine to run the jobs in those environments.
- Docker is the most important since you are able to build a lightweight and fast environment for the job to run, which includes all the dependencies needed to either build, run or test your code.
GitLab Runner Docker Executor
Make the Docker Runner pull the local image first, before trying to pull an image from DockerHub.
In /etc/gitlab-runner/config.toml
[runners.docker]
    pull_policy = "if-not-present"
- Cronjob on the Runner to update the image periodically.